I've had tea lights on my mind this week.
Someone asked me for some ideas in a local craft store of what you can do with tea lights. Of course my mind was just racing with ideas and then I got to thinking I haven't made anything using tea lights before. So.... I did a quick scan on Pintrest. Okay, maybe not to quick, because who can get on Pintrest and not get absorbed with all the great things you find there.
But I did find these ideas that include tutorials.
If you're looking for ideas to warm up your home or special occasion with tea lights this holiday season check out these ideas from other paper bloggers:

1. Paper lanterns from Lia Griffith. You can download the tutorial on how to make these here.

2. Tea Light boxed holders for gifts by Michelle Last. See tutorial here.

3. Halloween #spook decoration. Find out how to make one here.


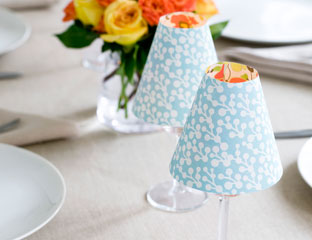
5. Wine Glass Lamps with tea light candles and scrapbook paper shades. See how to create them here.


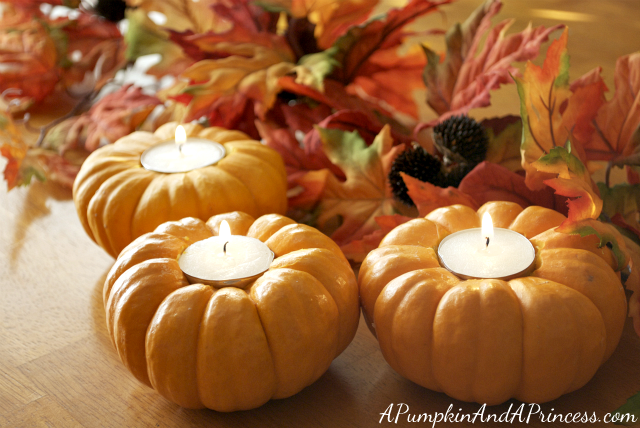
9. Spruce up your home this fall with tea light pumpkins! Check it out here.
Got other tealight inspired ideas? Feel free to share them in the comments or over on my facebook page. Can't wait to see them all!

Someone asked me for some ideas in a local craft store of what you can do with tea lights. Of course my mind was just racing with ideas and then I got to thinking I haven't made anything using tea lights before. So.... I did a quick scan on Pintrest. Okay, maybe not to quick, because who can get on Pintrest and not get absorbed with all the great things you find there.
But I did find these ideas that include tutorials.
If you're looking for ideas to warm up your home or special occasion with tea lights this holiday season check out these ideas from other paper bloggers:
1. Paper lanterns from Lia Griffith. You can download the tutorial on how to make these here.
2. Tea Light boxed holders for gifts by Michelle Last. See tutorial here.
3. Halloween #spook decoration. Find out how to make one here.
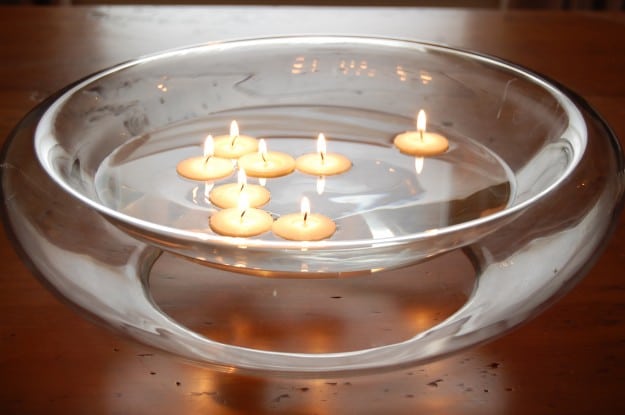
4. Floating tea lights in a bowl. Idea thanks to: theartofdoingstuff
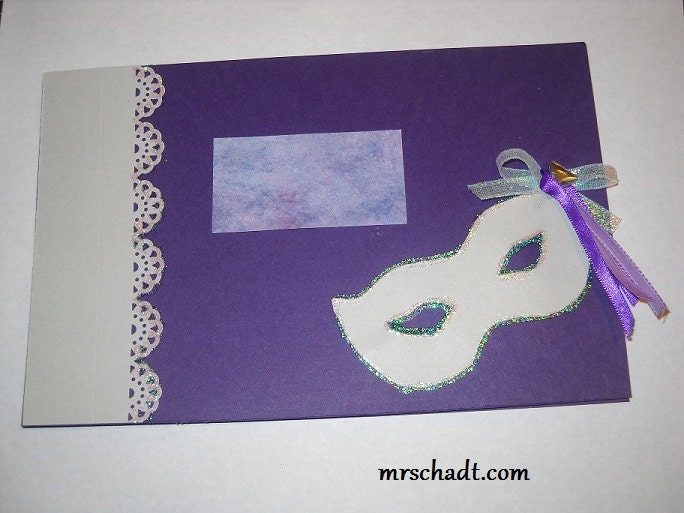
6. Teal Light Card to "light" up someone's day. Instruction video here.

7. Tea Light Wall Hanging. I love this idea! It's my favorite of all. I'm currently saving my chicken cans to make one. You can probably us tuna cans, too. Check out how to make one here.

8. Another recycle can project using tea lights. Click here to check out this one.
Got other tealight inspired ideas? Feel free to share them in the comments or over on my facebook page. Can't wait to see them all!