Showing posts with label card making. Show all posts

Friday, June 19, 2015

Lace Birthday Cards

post signature


Got this idea off Pintrest.

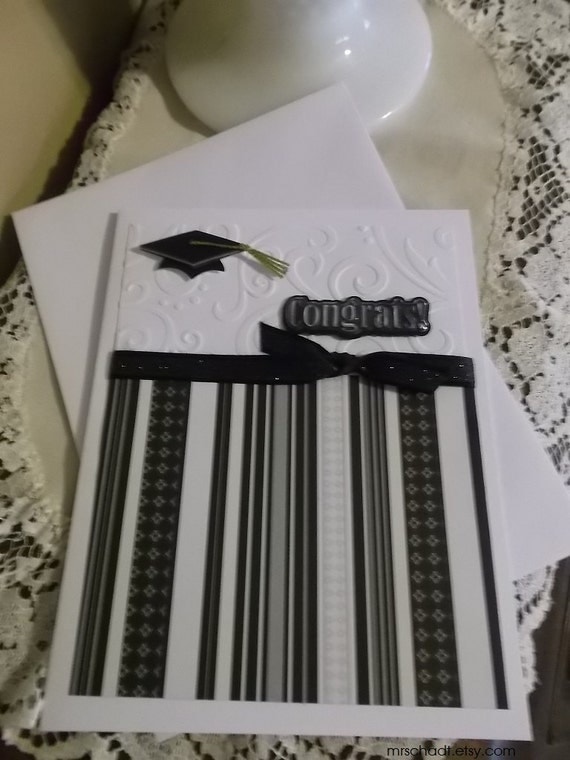
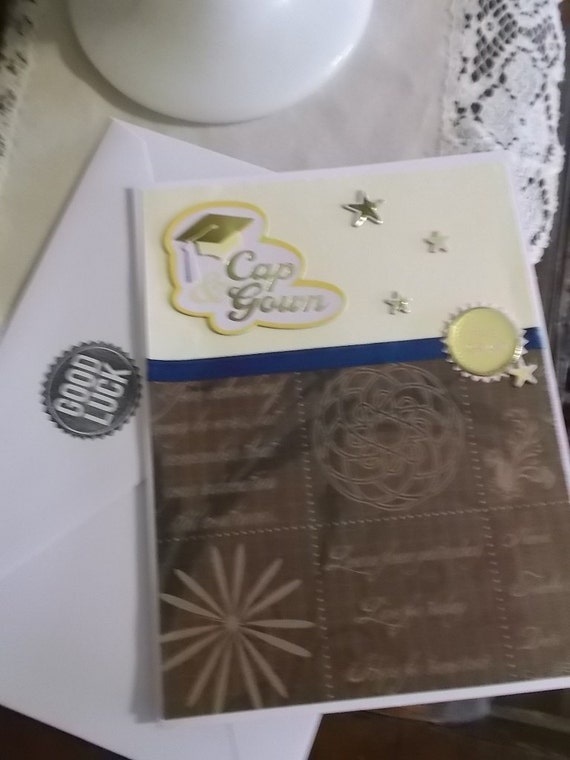
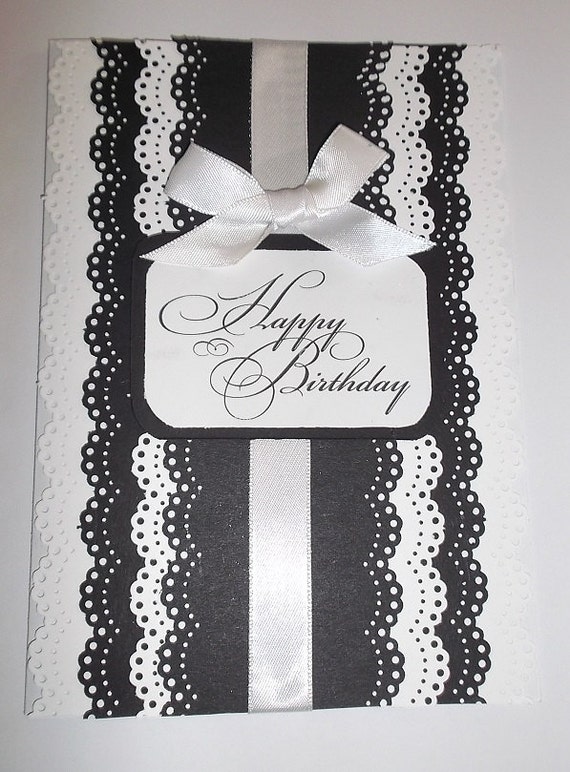
Another beautiful card by my sister.

They come in a variety of colors and you can choose your birthday sentiment or personalize it with one of your own.

She made me one that was purple and white for my birthday a few weeks ago. It's so elegant and pretty!

She's also working on some for baby showers and will add them to the shop soon.

In the mean while, I'm thinking this layered paper lace technique would look lovely as well on the cover of a book. Can't wait to try it. I show you how it comes out soon.

You can find these lace birthday cards in the shop HERE

Tuesday, June 2, 2015

Graduation Cards You Can Personalize For Your Grad


Wow! Graduations are already happening. Has the time flown by that fast?

I have to admit, it's been a whirlwind and flurry of paper around here. You all are keeping me busy and I love it!

During this past few weeks I not only got a visit from one of my sisters once - but twice. It was a great time. We pulled out a lot of my paper scraps and learned a thing or two. I never thought she'd fall in love with making cards this much or be so good at it!!

I've created a card making addict. lol..

Just look at these cards:


They're awesome right?

The insides are blank, but when you purchase, I'll be happy to personalize them inside with a saying of your choice or custom saying that you can convo me through the shop.

Help me to continue to encourage my sister to keep making cards like these ones by commenting, sharing, or visiting the shop and making a purchase.

You all just rock!
Thanks!

post signature


Thursday, January 30, 2014

Wedding Advice Card Dove Designs

I just got a new stamp set and have been working on these advice card designs. I love the elegance of these dove and olive branch advice cards. The olive green ink and ivory card stock is so pretty.

I also picked up this woodland stamp, another Studio G find, and made these woodland wishes or welcome little one advice cards. I used cocoa ink and colored the leaves and trees with a green colored pencil.


I'm working on some new covers and book designs for putting together the advice cards when the event is done. I've seen boxes for the cards, but I'm thinking a front and back cover with either book rings or pre punched and tied inside as a book will look nice, too.

What do you think?

post signature

Tuesday, January 28, 2014

Valentine Card from Scraps

The kiddos wanted to make cards over the weekend so we pulled out a lot of Mom's pink, red, and white scraps from the scrap bin.

The inside is blank, still thinking of what to write inside it.

Any ideas?
post signature

Wednesday, January 15, 2014

Double Hearts Wedding Card


I'm determined this year to get my scrap pile of papers down to one basket or less. As you saw the double heart wedding guest book from Monday's post, I thought I'd share how I made this double heart wedding card. 

It's so sweet you can change the color scheme and create if for Valentine's day, too!

What you'll need to create this card:

Artphilosphy Cricut Cartridge (CTMH)
Celebration Stamp Set from CTMH)
Then you'll need three layers of card stock
a piece of 1/2 ribbon
border punch - EK Success

The card is 5.5 x 8.5 piece of gray flannel card stock
The first layer (purple and gray) is 3 3/4 x 3 inches
1.5 x 3" black piece of card stock
3 x 4 inch piece of white or white designer paper (I used a piece from a black and white scrap pack I got from Oriental trading)
Foam Dimensional

You'll also need a few scrap pieces of gray wool, gray flannel, and moonstruck (dk purple or your choice of color)

I cut out three hearts: 2 1/2  inches, 1 3/4 inches, and 1 inch 

I used the celebrations stamp and black ink and stamped the banner stamp and "Celebrate" onto a piece of gray flannel card stock then cut out around it. 

You'll want to score your 5.5 x 8.5" piece of gray flannel card stock in half (4 1/4) and fold to make the card. 

Layer the 3 3/4 x 3 inch piece on the far side first. 
Then take your black 1.5 x 3 piece of card stock and punch using a border punch. 
Attach it to the 4" side of your 3 x 4 white design card stock
wrap a piece of 1/2 inch ribbon around it by the border end and secure in the back with adhesive
Next you'll want to position and attach the 3 x 4 piece on the card. 
Place your largest heart down first. Then your smaller two hearts. I used foam dimensionals on the back of the two smaller hearts to make them stand out. 
Then add your Celebrate banner!

All done!

If you make one, I'd love to see your creation! 
Come share with me on Facebook. 


post signature

Wednesday, December 18, 2013

Twelve Days of Christmas: Project #9 Christmas Tree Card


Today we celebrate the 9th day of Christmas with this Christmas Tree Card project. 

Oh, Christmas Tree, Oh Christmas Tree..... I've been humming this song ever since I made this card.


I've got all the fixings ready for this project. I cut everything, again, from my Art Philophsopy Cricut Cartridge from CTMH.

The card is cut at 5.5" - I used parchment card stock, I like the vintage look of it, but you can also use light tan colored card stock. You'll want to use the "card" setting on your cartridge

The decorative layer is cut at 4"  I used a designer green from a large 180 DCWV 12" x 12" pack.

The oval layer is cut at 3.5" it's a sienna colored card stock from DCWV textured card stock 12 x 12 pack.

You'll need a piece of Navy ribbon and a brad (either silver or bronze works best.)

Assembly:

Attach your decorative layer on to a solid piece of 4" x 5.5 card stock. (I used olive and a brighter green for the decorative layer to make it "pop"). Then attack to the back front of card so the decorative side shows through the cut outs. 

Next, place your ribbon about 1/4" from the bottom of the card.

Take a piece of hemp or ivory embordery thread and tie around the left end of the oval cut out.

Attach Oval cut out around the trees, positing it best to the center.

Insert Brad about 1/2 inch from the end off the right side of the ribbon band.
Tie a piece of tread around the ribbon by the brad.

Take a 3/4" x 3" piece of white card stock and stamp with a warm greeting. Cut the end to make it appear like a banner and attach to card over the ribbon and oval cut out.

A warm and festive card for the season!


post signature

The tree is up, the packages wrapped and tagged, and the stockings hung. What's next for you in preparing for Christmas? 
 

Thursday, December 12, 2013

Twelve Days of Christmas: Project #6 Gift Card Tags


Today's project as part of the Twelve Days of Christmas Series are these ornament gift holder tags. 

 If you some people on your list for giving gift cards this year, but don't want a traditional gift card holder or card or box, these ornament style gift card holder tags are perfect!

I made these using my Art Philosophy Cartridge from CTMH. I've had this cartridge for a few years now from my former CTMH consulting days, and I'm still finding that there are so many uses for it! Go CTMH!

Here is the recipe for today's project:

Art Philosophy Cartridge
photo punch
2 sheets of card stock of your choice.

Step One: cut card using the "card" feature and the ornament card template button.  You will want to select 5.5" for your size.

Step Two: cut decorative layer for on your card.

Step Three: cut a piece off 3" x 4" piece of card stock (this will be your card holder)

Step Four: Punch the lower corner and opposite top corner of the 3" x 4" piece of card stock using the photo punch.

Step Five: Assemble Card. Place decorative layer on front of card. Decorate as desired.

Inside card, place 3" x 4" piece of punched card stock inside center of card. Glue, be sure not to glue the piece where the card slides up through! Trim around the card holder piece to smooth out any edges sticking out from the round card.

Wait until glue has dried.

Now you're ready to insert your gift card inside, write your message and attach to a package or hang on the tree.


I'd love to see how your card came out, feel free to share over on my facebook page or send me a photo of your finished project!

post signature

Saturday, March 31, 2012

Wedding Card


I had some left over scraps from creating yesterday's elegant wedding guest book, so I created this  love tag wedding card.


Tuesday, January 31, 2012

Tuesday's Tutorial: Valentines Card Part 4


Today's the last part of our Valentines' Card Tutorials with CTMH founder Jeanette Lynton. I hope this these past few weeks have inspired you in your card making. Don't forget to come out and vote on your favorite card this Firday at Pajama Factory from 5pm - 9pm in Williamsport, PA.

I'm so excited, I can't wait to see you all! And I'll also be revealing the new idea catalog that you can official purchase from tomorrow!! Whoo hooo!  (okay maybe a little too overly excited!)

Tuesday, January 24, 2012

Tuesday's Tutorial Valentine's Inspiration Part 3


Here is a cute idea for those Valentine's day treats that you and your kids can make together!

Still working on your card entry for the romance your card contest? Don't forget, entries must be post marked by January 25th!! (psst... that's TOMORROW!!)

Oh what a sweet treat! I can't wait to make these. How about you?

Thursday, January 19, 2012

Mini Kiss Favor


This is a little mini Kiss Favor Treat I created. I'm thinking that over the next few days I'll end up making about two dozen of these for one of the kids to hand out for class room valentines. 

And talking about valentines, just a reminder that the sign up deadline is drawing near for this month's workshop. If you haven't signed up yet, you can do so here.

Mini Kiss Favor Treat Recipe:

Art Philosophy Cartridge - Set size to 5" cut petal box shape and 2 3/4" heart tag shape.
I used baker's twine to tie my favor box together with tag, starting in February with the new idea book you will be able to purchase baker's twine! Got to love this stuff!
1 Hersey Kiss.

You can use any kind of CTMH designer paper, or even plain card stock. Can't wait to see how yours turned out, send me a pic and I'll share here on the blog!

Well the days are running short and there is only 8 more days to get your card entries in for the Romance Your Card Contest. Help me fill the wall with card for Pajama Factory First Friday on February 3, 2012. The more cards, the more proceeds go to the Heller family! Not to mention the cool prizes that you could win for participating!


Monday, January 16, 2012

Roxie Anniversary Card


When I first laid out all my supplies to create this card I was thinking of several different embellishments, but once I cut this from a scrap piece of paper I realized the print of the Roxie Designer paper looked beautiful on it's own. I used my SAY IT IN STYLE stamp set to say"Happy Anniversary" at the top of the card.


Sweet and Simple, don't you think?

Saturday, January 14, 2012

So In Love Greeting Card


One of the things I really like about the colored card stock from CTMH is that it's white paper in the center, so it  makes it easy to distress it. You can peel up a layer of the paper like I did here in this So In Love Greeting Card to create a unique effect on the texture of your card.

So In Love Greeting Card Recipe:

 7" x 10" Colonial White Card Stock
5" x 7" Black Card Stock
4" x 6" Plaid side of Roxie Designer Paper
2" x 4" Cheeta side of Roxie Designer Paper
Bling Assortment (Z1466)
Roxie WOTG Stamp Set (G1025)

Card creations are coming in and if you haven't already submited there's just 11 days left to Romance Your Card!


Friday, January 13, 2012

Rose Birthday Card


Both my sisters have birthday's this month. My one sister loves pink and what better for a girls' birthday then roses, right?  I can't wait to give her this Rose Birthday Card I made. (I'll share my other sister's birthday card soon!)

To make today's card, you'll need the following:
4" x 6", 1" x 4", 2.5" x 3 3/4" Roxie B& T Duo Paper
Say It In Style Stamp Set (D1283)
Card & Envelope (X254)
Roxie WOTG Stamp Set (G1025)


**Reminder**
Only 12 more days to send in your Romance Your Card entries


Wednesday, January 11, 2012

So In Love Note Card


Doesn't this card just put you in the mood for a little romance? Note cards are the perfect size for slipping a little love note to that special someone, don't you think?

So In Love Note Card Recipe:

Card and Envelope (X254)
1 - 4" x 6" and 2" x 4" Roxie B&T Duo
Roxie WOTG My Acrylix Stamp Set (G1025)
Scrap piece of Colonial White Card Stock
Bling Assortment (included with Roxie WOTG) (Z1466)
2" circle punch (or you can trace your stamp around an ordinary soup can like I did. )

**Reminder**
Only 15 more days to postmark your Romance Your Card entry!

To create this card

1. cut out a 2" circle. You can use a punch, or trace around a soup can as I did. :)
2. Stamp your circle using the heart stamp and "so in" and "Love" stamps from the Roxie WOTG Stamp Set.
3. Layer your 4" x 6" B & T Duo atop the front of your note card.
4. Next layer your 2" x 4" B & T Duo Paper and your stamped circle next.
5. Slip in a bling pin and attach bling button to your design.


Monday, January 9, 2012

Two Heart Note Card


This month I'll be sharing a lot of card and a few scrapbook layouts using the Roxie Workshop On The Go Kit (G1025). Just a reminder, the new idea book goes live on February 1st, so even though you'll be able to purchase the Roxie paper packets, the Roxie WOTG kit will not be available after January 31st. You can order it here.

Two Heart Note Card Recipe:

Bitty Sparkles (Z1263)
Card and Envelope (X254)
1 - 3" Heart Shape (cut from Art Philosophy Cartridge)
1 - 2" Heart  Shape (cut from Art Philosophy Cartridge)
1 - 4" x 6" cut  Roxie B & T Duo Paper

Only 17 more days to mail your Romance Your Card entry! Can't wait to see them all!


Wednesday, January 4, 2012

Baby Shower Advice Cards

 One of my husband's cousins are expecting a new baby in the first weeks of March. Since alot of the family members live at different distances, I created this advice cards using the Zoology Stamp Set.

Each card will be slipped in with invitations, that way the card can be sent back filled with advice if the guest can't attend the baby shower.  I used some beige marblized paper from my stack, but thinking these would also look cute on some colonial white with distressed edges too!


Of course, I'm working on the album to slip all these awesome cards in at the baby shower for the new mom to look back on later and hand down when the baby gets older!


MrsChadT

Wednesday, December 21, 2011

Upcoming Contest

Last month I announced that I would be having a Rock the Block contest this coming January. Please forgive me as I am postponing that contest to make way for another contest that I feel has a much more important purpose in mind.

I will be posting the contest details later next week, I promise.

But just so you can get your minds rolling with ideas, during the month of January I will be accepting submissions for the "Romance Your Card" contest.

Entries will be displayed outside my studio and voted on by the  public.

I'm taking a break from now until after Christmas to spend time with my family and prepare the details of this upcoming contest.

Hopefully after being refreshed after a few days off, I can finish preparing our next workshop kits and prepare some new projects to share!

May you all have a very Merry Christmas!


Thursday, December 15, 2011

Paper Potluck


My scrap bin has been overflowing lately. To the point, where I have to creat a new bin or sort out the old one, so Bug helped me the past few afternoons and we stuck my scraps into color coordinated bags. These paper pot lucks will be available at my next scrap meeting coming up here in a fews in January.

There are two different sizes available and they contain card stock and B&T Duo papers of every color, design, and shape. There are purple, red, orange, blue, green, beige and brown, and black and white available. These are all cuts left over from making various guest books over the past year. They're the perfect sizes for card making and even scrapbooking.

I'll post the details of my next workshop and scrapbook night in tomorrow's post. And give you a sneak peak of the desk calander we'll be making!


Monday, December 12, 2011

Thank You Cards

This month I've been adding some hand stamped thank you cards to my shop and in with my guest book orders. I just wanted to show you a few I made over the weekend. They can be customized, of course, to match color schemes.


LinkWithin

Related Posts Plugin for WordPress, Blogger...