Showing posts with label mrschadt. Show all posts

Wednesday, May 21, 2014

Sorry, No Custom Orders for the Summer


It rained last week. 

It's raining today, and although I'm grateful we're not having floods in this area like we did several years ago, I'm sad to say, my basement studio has accumulated water and is still drying. 

The rain today, doesn't help. 

I've had to tear up the mat flooring and it looks like we're going to have to reseal the basement and waterproof it. It's an old house, we've lived here for nearly seven years, I suppose this is just one of those every 10 - 20 year maintenance things for houses. 


It however, has put a big damper on book making. As you can see, everything has had to be packed up and moved to higher ground. Aka, my dining room and laundry room. 

It'll will be a few weeks before everything is dry and sealed and I'm able to work again. With that being said, I'll be traveling for a few writing conferences in the following weeks and the family vacation is around the corner. 

What does this all mean? 

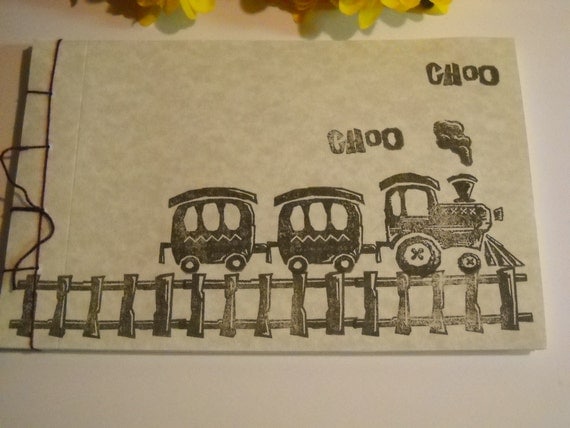
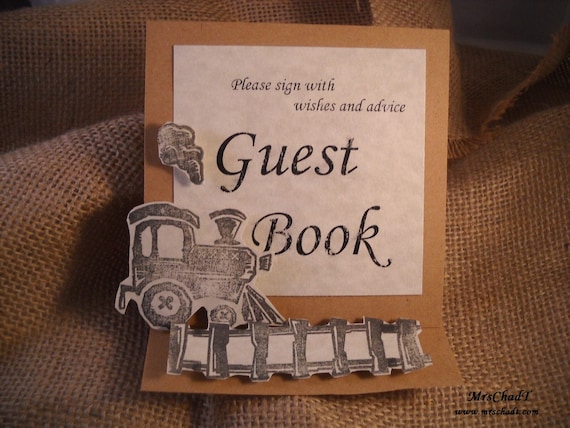
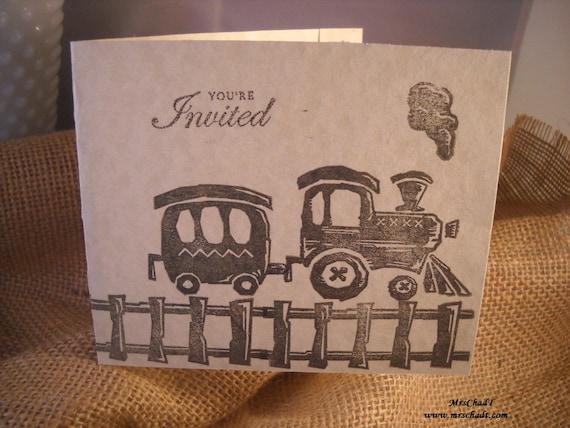
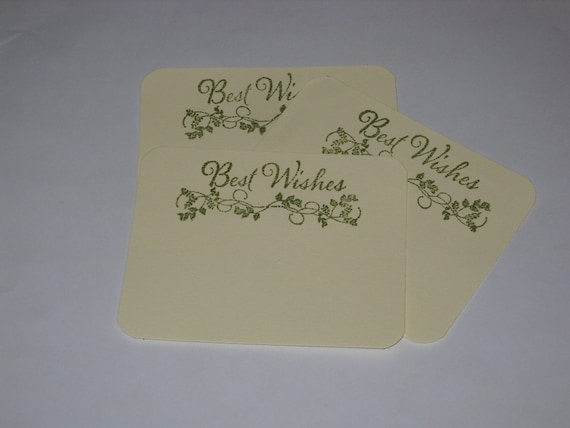
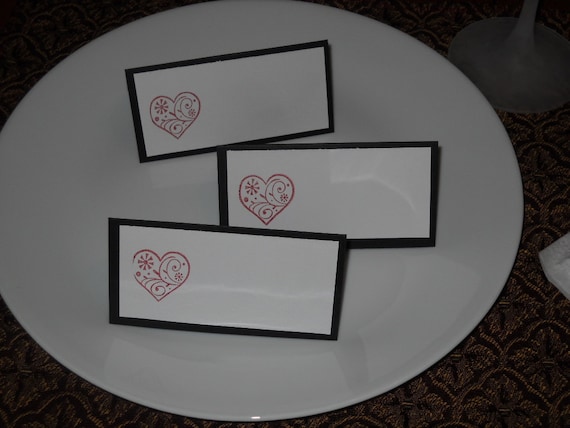
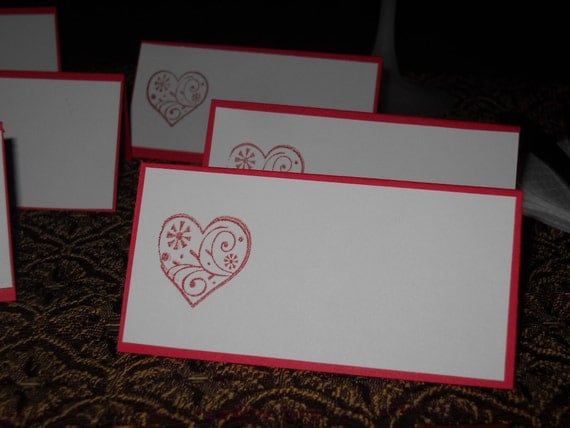
Due to current circumstances, I will not be accepting any custom orders from now until June 4th. I have reduced the number of the listing in my etsy shop to the books and cards that are pre-made and ready to ship out. 

If you have placed a custom order in shop within the last week, don't worry, I'll have them shipped out shortly and within time of your event dates. 

My etsy shop will is going into vacation mode from June 7th through July 8th. 

Hopefully within this time our basement will be finished and / or I will have found a new place to set up my book studio again. 

I apologize for any inconvenience this may cause you. 

Thank you for your understanding.


post signature

Monday, February 10, 2014

Vintage Train Party Theme


I loved the way this book looked with I just stamped the cover. It reminded me of those historical railroads and a little of the old west. 

In my previous post, I shared the matching train invitations and thank you cards. Today, here is the matching guest book sign. 

These are food label cards or can also be used for name cards for a historic society event or train themed event. 

These tags are great for attaching to favors. 

I made a few with just "Choo Choo" on them.


 I've ordered some brown and white striped baker's twine to include with the tags, I think it really adds to the old west / vintage feel, don't you? 


post signature

Saturday, February 8, 2014

Vintage Train Party Invitations

I had a special request for matching invitations, thank you cards, and food label cards to go with my vintage train guest book album in the shop this past week.


 I came up with two different types of invitations. One is a side opening invitation with pocket and a ticket inside with the party info.


  I stamped the entire card with the railroad track, including the back of the invitation.

The second one is a top opening card with the party information on the inside as seen here. 

And of course the Thank you cards. I also stamped all the envelopes with a railroad sign. 

Stay tuned for the rest of the matching vintage train book and table settings.


post signature


Thursday, February 6, 2014

February Specials in the Shop


I've been crafting up as storm lately, and decided this month to share a few special deals with everyone. 


I couldn't help myself, I've made a bunch of those sweet Hershey Kiss Favors from the other day's post. This month, I'll be including one as my gift to you with any order from my Etsy shop. 

I'll also be including a FREE sampler pack of Thank You Cards with any order over $25.  


All orders over $50 can use the code 50FREESHIP and receive free shipping on your order, plus all the other great stuff mentioned above. 

 And.... yes... there is more.... 

Come hang out with me on my facebook page this month for random opportunities to grab some free samples of new products!

Love this month!

 
post signature

Tuesday, February 4, 2014

Valentine's Day Hershey Kiss Favor

Burr.. it's been so cold I haven't wanted to leave the house! I'm so glad to see it has warmed up these past few days despite the snow. I guess it's all apart of living in Pennsylvania. I can't honestly remember it being this cold, although I'm sure it was and as a kid it didn't bother me as much. 

I just finished up a writing project and decided I'd better high-tail-it to start on some Valentine's for the kiddos. I got this idea from a YouTube video that you can see below. 


Our church is getting ready to host their 2nd annual Valentine's dinner next week, and it made me think how these would make a great favor for the dinner and even for a wedding. 

They have four Hershey kisses inside and are tied together with ribbon. 

I've had so much fun making them. I'll probably put a few kits in my Etsy shop, but I've also created some downloadable instructions here to create them. 


Stay Warm! 


post signature 

Sunday, February 2, 2014

DIY Book Stickers

This week, I was presented with a challenge. A sticker challenge! I never realized you could make your own stickers. I can hear the kids saying, "Dah Mom!"

I recently had a request from my Etsy shop to turn my advice cards into book plates for a baby shower. Due to the design and type, I couldn't just buy sticker paper or white labels and print them.

After doing some searching I found this YouTube video from Sophie's world that taught me how to make a sticker using packaging tape and paper. This perked my tween's interest.


 Here is my sticker after watching this video:


 I'm thinking the gloss on this would not be easy to write on for people to sign names. So, I also found this recipe for adhesive for making lick-able stickers from Skip to my Lou.

I've got non-flavored gelatin on my shopping list this weekend. Brrr.. I'm totally not looking forward to going out side in this freezing weather.

If any of you have made stickers before, advice is welcome.

See you soon with a new project!
post signature


Thursday, January 30, 2014

Wedding Advice Card Dove Designs

I just got a new stamp set and have been working on these advice card designs. I love the elegance of these dove and olive branch advice cards. The olive green ink and ivory card stock is so pretty.

I also picked up this woodland stamp, another Studio G find, and made these woodland wishes or welcome little one advice cards. I used cocoa ink and colored the leaves and trees with a green colored pencil.


I'm working on some new covers and book designs for putting together the advice cards when the event is done. I've seen boxes for the cards, but I'm thinking a front and back cover with either book rings or pre punched and tied inside as a book will look nice, too.

What do you think?

post signature

Tuesday, January 28, 2014

Valentine Card from Scraps

The kiddos wanted to make cards over the weekend so we pulled out a lot of Mom's pink, red, and white scraps from the scrap bin.

The inside is blank, still thinking of what to write inside it.

Any ideas?
post signature

Sunday, January 26, 2014

Plastic Canvas Glitter Holder

I've been looking for a new way to keep all my glitter organized and up off my craft bench. So, I came up this this hanging shelf using plastic canvas. The entire thing is one sheet of 7-count plastic canvas. It holds 16 of the little glitter bottles.

The nice thing about it, it took about 30 minutes to whip it up and it is sturdy enough to hang on the wall.

If you'd like the pattern on how I made it let me know.


post signature 

Friday, January 24, 2014

Hearts Place Cards

Our church is getting ready to host their second annual couples Valentine dinner. It made me think of place cards and hearts. This are simple two layer place cards that I hand stamped with a heart stamp I got from Studio G.

These are available in the shop now along with some other new designs I'll be sharing later this month.

I've been trying to add some new designs and ideas, so please feel free to share. I love hearing from you all.

post signatureHave you made your dinner reservations yet for the big V-Day? 

Wednesday, January 22, 2014

DIY Toilet Paper Tower Recycle Paper Home Decor Project

You got to love Pinterest. I saw this recycled oatmeal canister idea a few days ago and thought, wow, we've got those!
Mr. Chad T. goes through a canister of Oatmeal frequently, it's a breakfast basic in our house. And, Bell is after my always to recycle more. This project took one piece of 12x12 designer paper, a roll of 3/4" wire ribbon and 1 sheet of black card stock 8.5" x 11" paper.

I found the quote on Pinterest, too. With kids in the house, I couldn't think of a more perfect quote. My friend the trailer trash to treasure diva loves quotes. I printed this one out using Microsoft Word and voila! A perfect toilet paper holder for in the bathroom.

This toilet paper tower holds two rolls of toilet paper. It's a quick and fun project to add a little humor and something practical to any bathroom in your house.

I gave this one as a gift to my friend, but the next one is totally mine.

Have fun!

post signature


Sunday, January 19, 2014

Spinach Rolls Dish


We've found a new family favorite recently. If you ask my kids they'll tell you I'm not much of a cook. Mr. ChadT is more into mixing and measuring then I am. But these, I have to say came out better than I thought. Even the kiddos really liked them.

 I made these over New Years while we were visiting my family. It's a great dish for a dinner party or large family gathering.

I got this recipe from emeals. (yes, they do all my meal planning and I love it!)

 Spinach Rolls 

9 lasagna noodles
10 oz pkg of frozen chopped spinach, thawed
15 oz ricotta cheese
1 large egg
1/2 cup grated Parmesan cheese
1 small clove garlic, minced
1/2 tsp dried Italian seasoning
24 oz jar spaghetti sauce, divided
1  cup shredded mozzarella

Preheat oven to 350 degrees. Cook pasta according to package directions: drain and lay out on wax paper. Pat dry with paper towels. Squeeze excess moisture from spinach. Combine spinach, ricotta, egg, Parmesan cheese, garlic, and Italian seasonings in a medium bowl; season with salt and pepper to taste. Pour 1 cup spaghetti sauce in the bottom of a 9 x 11 inch baking dish. Spread ricotta mixture over lasagna noodles and roll them up.

Place, seam down, in the baking dish. Top with remaining sauce and sprinkle with mozzarella.

Cover dish with foil and bake 40 minutes.

Click here to print this recipe!


Add a salad and some garlic bread, and you've got yourself a great family meal!

This serves 4 - 6 people.
You can easily double or triple the recipe for a larger group.

Bon Appetit!


post signature


Friday, January 17, 2014

Easel Guest Book Sign

Last year I added guest books signs as my gift in with most all of my guest book order from my Etsy shop. The year before, I included a sample thank you card. This year... well that is a surprise.

I've been browsing Pintrest in between working on my latest book project and trying to find some new ideas for using up my scrap papers and adding new products to the shop that you all may like.

If you'd like to see new things in the shop, please feel free to post below in the comments section or over on my facebook page. I love hearing from you all, and I love creating new things.

We've been on the double hearts theme this week with the feature of the double hearts and double bound guest book I posted about earlier and then the card I created to match it.

Here is the guest book sign that I made using a tutorial from Split Coast Stampers for creating an easel card.  I'm working on creating some different designs of theses and adding them to the shop this month.

They're definately a step up from the card style ones I created last year and I like how they stand and allow for more of a 3-D look when setting on a table.

Plus, I can customize them to match any event theme and colors.

Well, I'm off to create!
Have an awesome Friday!

post signature


Wednesday, January 15, 2014

Double Hearts Wedding Card


I'm determined this year to get my scrap pile of papers down to one basket or less. As you saw the double heart wedding guest book from Monday's post, I thought I'd share how I made this double heart wedding card. 

It's so sweet you can change the color scheme and create if for Valentine's day, too!

What you'll need to create this card:

Artphilosphy Cricut Cartridge (CTMH)
Celebration Stamp Set from CTMH)
Then you'll need three layers of card stock
a piece of 1/2 ribbon
border punch - EK Success

The card is 5.5 x 8.5 piece of gray flannel card stock
The first layer (purple and gray) is 3 3/4 x 3 inches
1.5 x 3" black piece of card stock
3 x 4 inch piece of white or white designer paper (I used a piece from a black and white scrap pack I got from Oriental trading)
Foam Dimensional

You'll also need a few scrap pieces of gray wool, gray flannel, and moonstruck (dk purple or your choice of color)

I cut out three hearts: 2 1/2  inches, 1 3/4 inches, and 1 inch 

I used the celebrations stamp and black ink and stamped the banner stamp and "Celebrate" onto a piece of gray flannel card stock then cut out around it. 

You'll want to score your 5.5 x 8.5" piece of gray flannel card stock in half (4 1/4) and fold to make the card. 

Layer the 3 3/4 x 3 inch piece on the far side first. 
Then take your black 1.5 x 3 piece of card stock and punch using a border punch. 
Attach it to the 4" side of your 3 x 4 white design card stock
wrap a piece of 1/2 inch ribbon around it by the border end and secure in the back with adhesive
Next you'll want to position and attach the 3 x 4 piece on the card. 
Place your largest heart down first. Then your smaller two hearts. I used foam dimensionals on the back of the two smaller hearts to make them stand out. 
Then add your Celebrate banner!

All done!

If you make one, I'd love to see your creation! 
Come share with me on Facebook. 


post signature

Monday, January 13, 2014

Double Heart Wedding Guest Book

 I design a book like this a few years ago, you can see the design layout here.

This is custom order that I just loved creating this book. It really inspired me to get my creativity kicked back in gear again. I got some new papers designs from Jo Ann's over the holidays and was excited to pull out this dark purple and gray/ black paper design and create something so beautiful for this double hearts themed wedding.

I even took the scrap papers and created this card for the mother to put on her present to her daughter at the bridal shower and included a new tent style guest book sign to tie in with the brides' colors.

This is what it looks like laying out with the date and the couples names printed on the hearts. 
 
I stood it up so you could see it a little better, I'm sorry my photos are really great this time around. I'm working on getting my photo box set back up and my camera readjusted for cleaner shots. 

 This is a wire bound book, so I tied gray, purple, and black ribbon down the sides.

 This is what it looks like laying open for the guest to sign. One side is for the groom's side and one is for the bride's side, but it contains questions for the guest to answer on the pages like: I met Katie through James, I still laugh when I remember when Katie..., My best memory of James is...

Can you guess some of the other questions that went into this book?

post signature

Saturday, January 11, 2014

Create A Craft Binder or Planner for this year


If your like me, you either create your own patterns and keep lists of ideas or you find lots of free printable tutorials and other goodies on line and don't know what to do with them all.

My craft studio is getting a little cluttered with all my craft supplies, notes, and sketches for patterns and printed tutorials. So, I grabbed a 2" view binder from Wal-Mart yesterday and decided to try and get everything organized this year.

I do this when I'm writing books, so why not for crafts, too. The view binders range from about $3 to $5 depending on the size and color. The black ones are cheaper than the white, go figure.

However, I encourage you to do the same.
As the year goes on, and you've probably already noticed, I'll be sharing recipes and tutorials that you can print out. So why not create your own binder to keep them all in?

 For the cover, I cut a piece of 9 1/2 x 11 1/4 inch scrapbook paper, 7 1/2 x 9 1/2  inch card stock, and layered them.

For the center, I printed out what I wanted my book cover to say "MrsChadT's Book of Crafts" on an 8.5 x 11 sheet of copy paper. I then trimmed it down to 6 1/4 x 8 1/4 inches.

I used an EK Success border punch and punched around the edges of the card stock before I layered it all together using a glue stick to keep them all adhered.  Then I added some die cut flowers I had and secured them with a few brads.

Can you tell purple is my favorite color?

I also used 8.5 x 11 piece of card stock for the dividers and a 2" scallop punch. You can score the scallops and fold them in half then staple to the card stock for tabs.

Then you can write on the tabs or decorate and print the section titles on the card stock before you put them into your binder.

I have a section for many of the crafts I enjoy such as: Book Binding, Paper Tutorials, Crochet, Plastic Canvas, and Sewing Projects.

This is also a great idea for creating your own Wedding Planner, Shower Planner, Daily Planner, or other type of party planner organizer.

Looking forward to being a little more organized here in 2014, how about you?


post signature


Thursday, January 9, 2014

Superbowl Appetizers Pizza Rolls.

If your hubby is like mine or you've got friends coming over to watch the super bowl this month, then everyone will love these pepperoni Roll appetizers. They'll grab them by the hand full and snack away as they watch the game!


Pepperoni Rolls


What you will need:

8 oz block Colby-Jack cheese
3 cans buttermilk biscuits
4 oz pkg pepperoni slices
1 large egg, beaten
2 tbsp grated Parmesan cheese
2 tbsp Italian seasoning
2 tbsp garlic powder
24 oz jar pasta sauce

 Let's make it:

Preheat oven to 450 degrees.

Cut block of cheese into 30 mini squares. Flatten biscuits and stack each with 1 pepperoni slice, 1 cube of cheese, and then 1  more pepperoni slice. Gather the edges of each biscuit to form a roll. Place on a greased baking sheet. Brush each roll with egg; sprinkle evenly with Parmesan cheese, Italian seasoning, and garlic powder. Bake as per biscuit directions.

Heat pasta sauce in a sauce pan until thoroughly warmed and serve alongside for dipping.

**The original directions said to bake them for 18-20 min and they got a little too brown, if you bake them per the biscuit directions they come out just perfect! **

Print recipe here

post signature


recipe compliments of emeals.com

LinkWithin

Related Posts Plugin for WordPress, Blogger...