Sunday, February 2, 2014

DIY Book Stickers

This week, I was presented with a challenge. A sticker challenge! I never realized you could make your own stickers. I can hear the kids saying, "Dah Mom!"

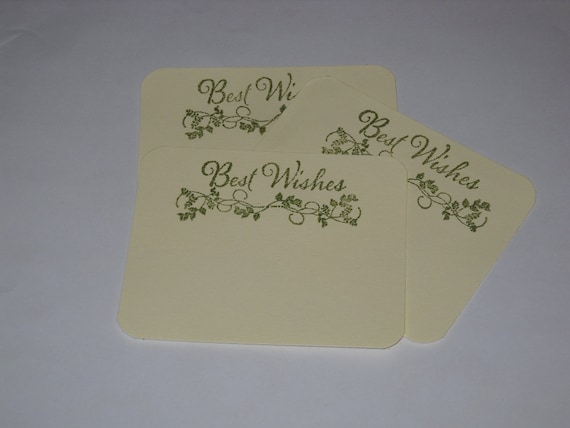
I recently had a request from my Etsy shop to turn my advice cards into book plates for a baby shower. Due to the design and type, I couldn't just buy sticker paper or white labels and print them.

After doing some searching I found this YouTube video from Sophie's world that taught me how to make a sticker using packaging tape and paper. This perked my tween's interest.


 Here is my sticker after watching this video:


 I'm thinking the gloss on this would not be easy to write on for people to sign names. So, I also found this recipe for adhesive for making lick-able stickers from Skip to my Lou.

I've got non-flavored gelatin on my shopping list this weekend. Brrr.. I'm totally not looking forward to going out side in this freezing weather.

If any of you have made stickers before, advice is welcome.

See you soon with a new project!
post signature


Thursday, January 30, 2014

Wedding Advice Card Dove Designs

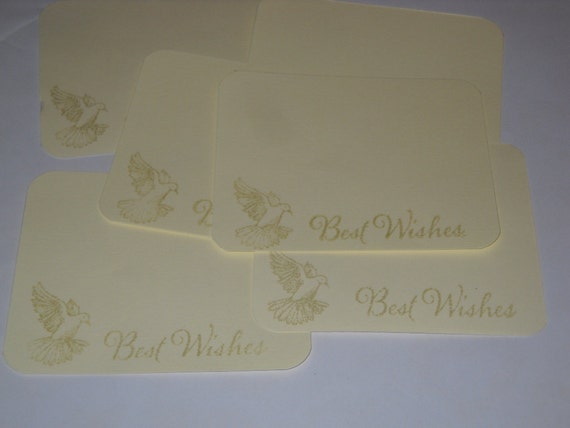
I just got a new stamp set and have been working on these advice card designs. I love the elegance of these dove and olive branch advice cards. The olive green ink and ivory card stock is so pretty.

I also picked up this woodland stamp, another Studio G find, and made these woodland wishes or welcome little one advice cards. I used cocoa ink and colored the leaves and trees with a green colored pencil.


I'm working on some new covers and book designs for putting together the advice cards when the event is done. I've seen boxes for the cards, but I'm thinking a front and back cover with either book rings or pre punched and tied inside as a book will look nice, too.

What do you think?

post signature

Tuesday, January 28, 2014

Valentine Card from Scraps

The kiddos wanted to make cards over the weekend so we pulled out a lot of Mom's pink, red, and white scraps from the scrap bin.

The inside is blank, still thinking of what to write inside it.

Any ideas?
post signature

Sunday, January 26, 2014

Plastic Canvas Glitter Holder

I've been looking for a new way to keep all my glitter organized and up off my craft bench. So, I came up this this hanging shelf using plastic canvas. The entire thing is one sheet of 7-count plastic canvas. It holds 16 of the little glitter bottles.

The nice thing about it, it took about 30 minutes to whip it up and it is sturdy enough to hang on the wall.

If you'd like the pattern on how I made it let me know.


post signature 

Friday, January 24, 2014

Hearts Place Cards

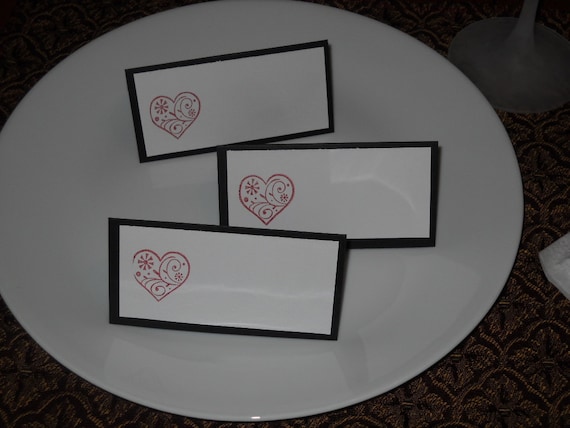
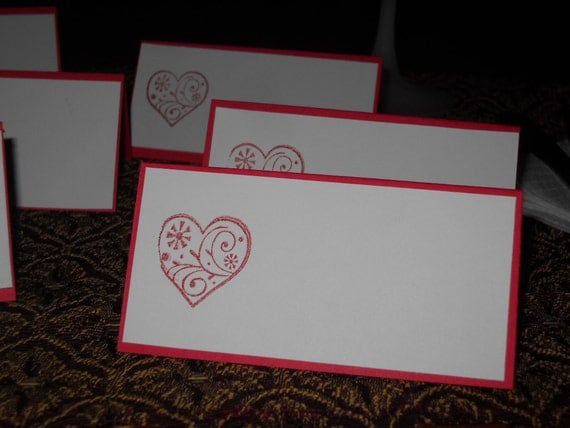
Our church is getting ready to host their second annual couples Valentine dinner. It made me think of place cards and hearts. This are simple two layer place cards that I hand stamped with a heart stamp I got from Studio G.

These are available in the shop now along with some other new designs I'll be sharing later this month.

I've been trying to add some new designs and ideas, so please feel free to share. I love hearing from you all.

post signatureHave you made your dinner reservations yet for the big V-Day? 

Wednesday, January 22, 2014

DIY Toilet Paper Tower Recycle Paper Home Decor Project

You got to love Pinterest. I saw this recycled oatmeal canister idea a few days ago and thought, wow, we've got those!
Mr. Chad T. goes through a canister of Oatmeal frequently, it's a breakfast basic in our house. And, Bell is after my always to recycle more. This project took one piece of 12x12 designer paper, a roll of 3/4" wire ribbon and 1 sheet of black card stock 8.5" x 11" paper.

I found the quote on Pinterest, too. With kids in the house, I couldn't think of a more perfect quote. My friend the trailer trash to treasure diva loves quotes. I printed this one out using Microsoft Word and voila! A perfect toilet paper holder for in the bathroom.

This toilet paper tower holds two rolls of toilet paper. It's a quick and fun project to add a little humor and something practical to any bathroom in your house.

I gave this one as a gift to my friend, but the next one is totally mine.

Have fun!

post signature


Sunday, January 19, 2014

Spinach Rolls Dish


We've found a new family favorite recently. If you ask my kids they'll tell you I'm not much of a cook. Mr. ChadT is more into mixing and measuring then I am. But these, I have to say came out better than I thought. Even the kiddos really liked them.

 I made these over New Years while we were visiting my family. It's a great dish for a dinner party or large family gathering.

I got this recipe from emeals. (yes, they do all my meal planning and I love it!)

 Spinach Rolls 

9 lasagna noodles
10 oz pkg of frozen chopped spinach, thawed
15 oz ricotta cheese
1 large egg
1/2 cup grated Parmesan cheese
1 small clove garlic, minced
1/2 tsp dried Italian seasoning
24 oz jar spaghetti sauce, divided
1  cup shredded mozzarella

Preheat oven to 350 degrees. Cook pasta according to package directions: drain and lay out on wax paper. Pat dry with paper towels. Squeeze excess moisture from spinach. Combine spinach, ricotta, egg, Parmesan cheese, garlic, and Italian seasonings in a medium bowl; season with salt and pepper to taste. Pour 1 cup spaghetti sauce in the bottom of a 9 x 11 inch baking dish. Spread ricotta mixture over lasagna noodles and roll them up.

Place, seam down, in the baking dish. Top with remaining sauce and sprinkle with mozzarella.

Cover dish with foil and bake 40 minutes.

Click here to print this recipe!


Add a salad and some garlic bread, and you've got yourself a great family meal!

This serves 4 - 6 people.
You can easily double or triple the recipe for a larger group.

Bon Appetit!


post signature


LinkWithin

Related Posts Plugin for WordPress, Blogger...